Roll-Up Impact Screen
Here's a bit more detail on the Roll-Up Impact Screen from my latest Youtube Channel

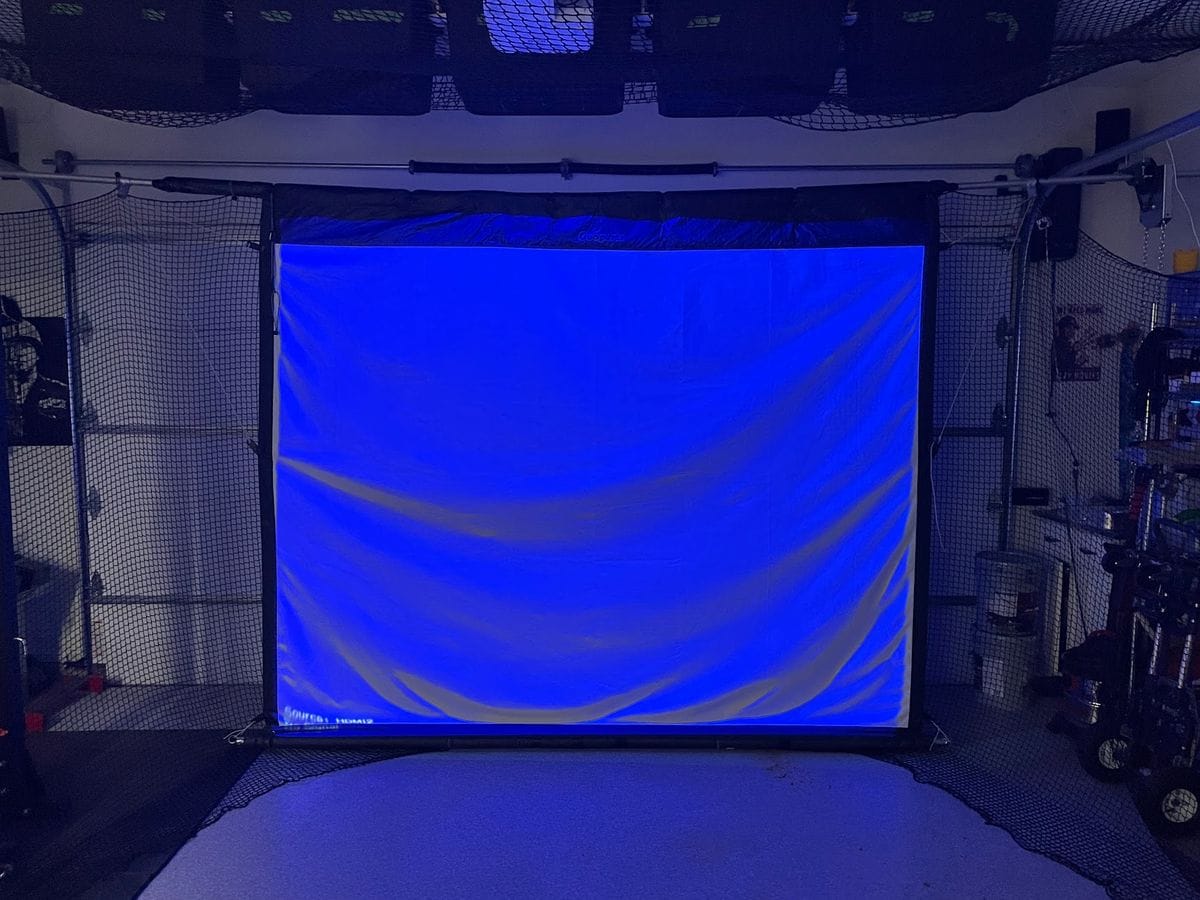
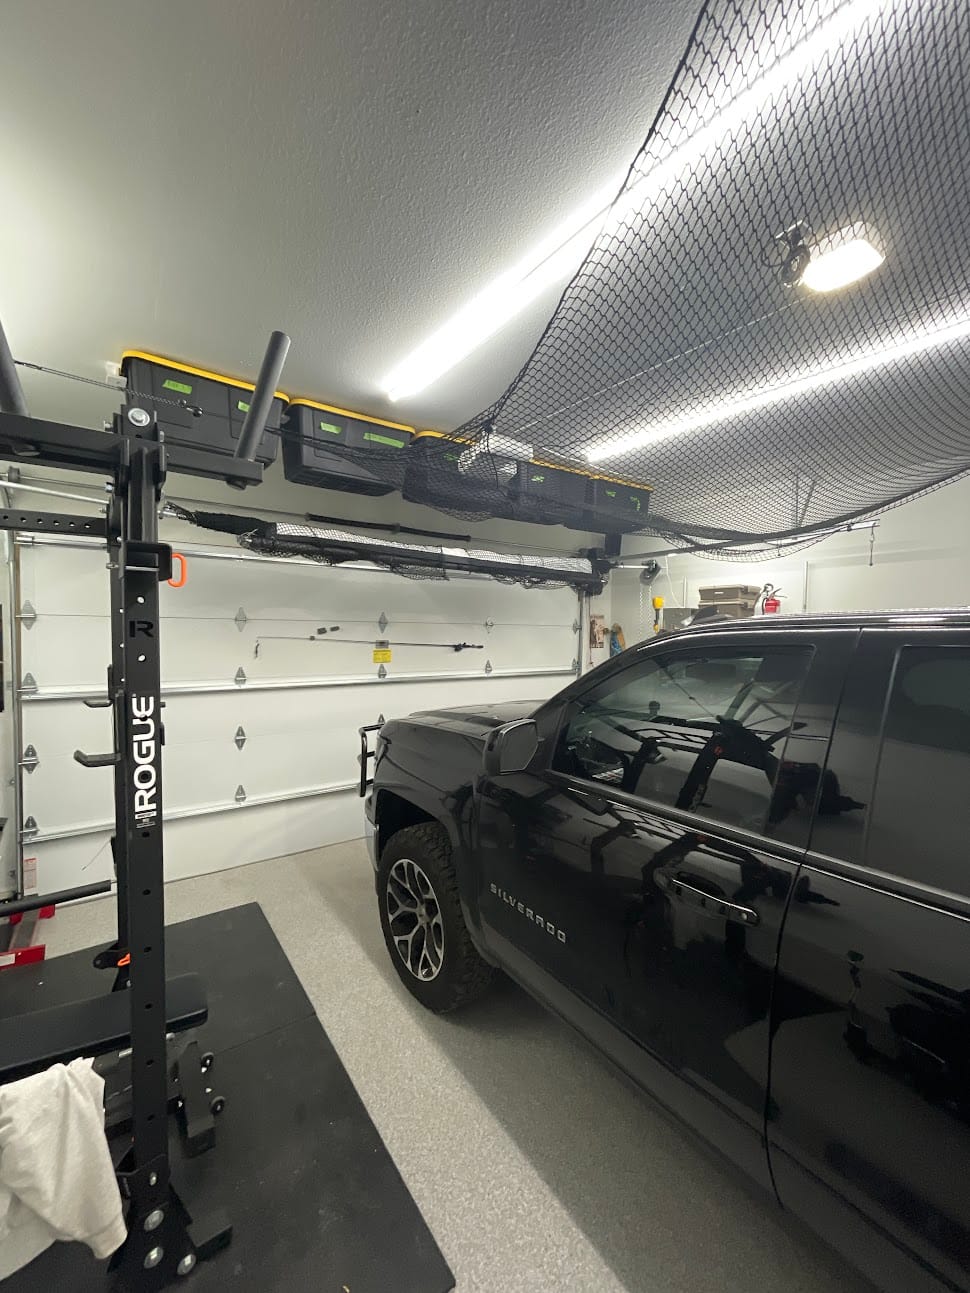
With the above Photos, I hope you can see how the screen looks both in use and out of use.
I used my pre-existing garage door tracks to support the screen. You do not have to do this if you buy the angled steel in the materials section. Please ensure your garage door tracks are strong enough to support the weight and impact if you choose to go this route. I have no way to know how long this will last but it seems to be performing fine for the last 3 or so months with no visible side-effects.
Measure the Height of your space from the floor to the bottom of the OPEN garage door. This will ensure you do not hit the screen components by opening or closing the door. This height is not the same as the height of your garage door.
If you plan to use the same screen I did, subtract 10' from that measurement. This will influence the length of bolts to purchase that will support your pillow block bearings. You will lose an indeterminate amount of height when wrapping the screen around the pipe but should be no more than 3-4" total. You want the screen to just barely float above the ground so that golf balls cannot pass underneath.
Next Measure the width of your door. This will influence the length of EMT Conduit to purchase. Mine is 16' so I had to purchase 2x 10'. A MAJOR downside to this is the conduit will sag in the middle. I strongly recommend looking for an alternate pipe that can span the whole distance.
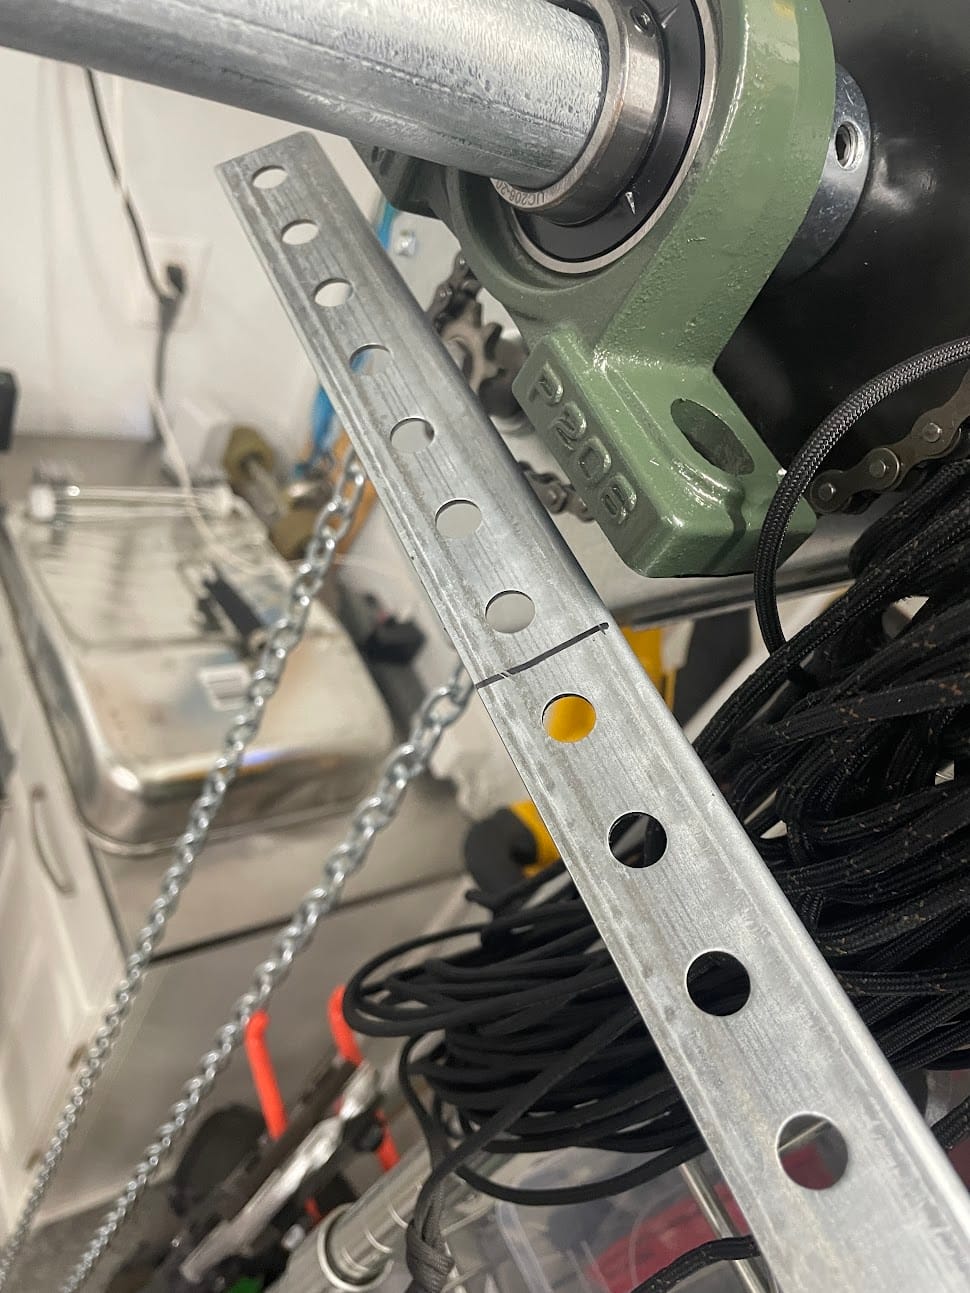
To preface, I hung this whole contraption without the right angle steel braces because forgot I had ordered it. Then when it arrived I decided to add it to the existing setup thinking it would add rigidity. As such, the pictures look like the one below with the screen already assembled. I do not think these steel braces reinforced anything, but I am going to include them as steps because they're in all the photos.
- (Optional) Cut the Steel to the length of the Pillow Block Bearings. Shown with the sharpie line below. I made 4 pieces this size.
2. Attach washers to the head of your bolts and drop your Bolts through the garage door track (or the braces if you are hanging on a wall). You may need to slightly drill these out. Two of mine went easy without drilling and two needed a hair more space.
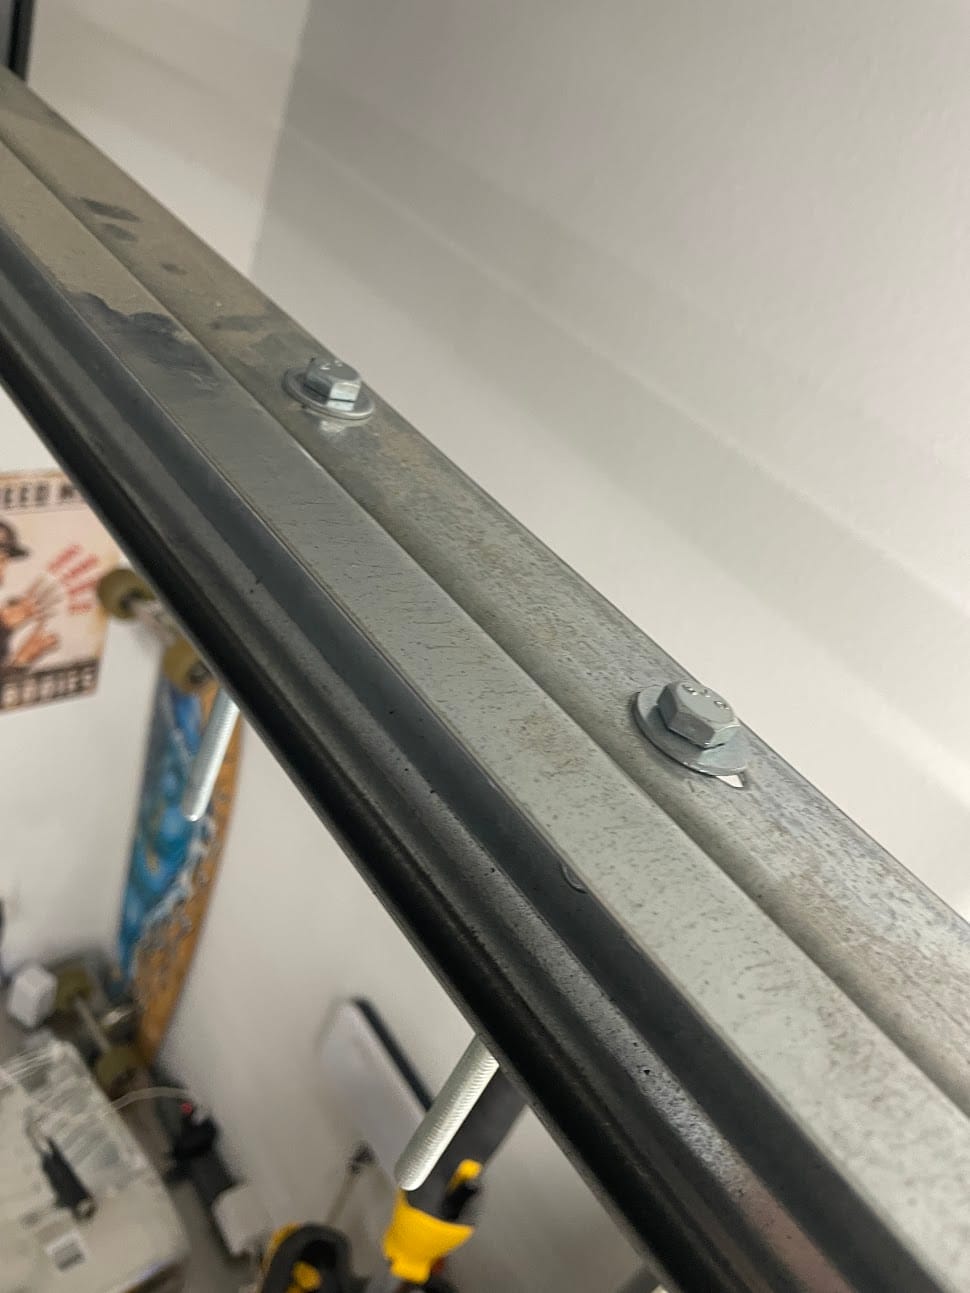
3. Next put the washers and nuts on the bolts. Optionally add a piece of Bracing to (what I thought) add rigidity.
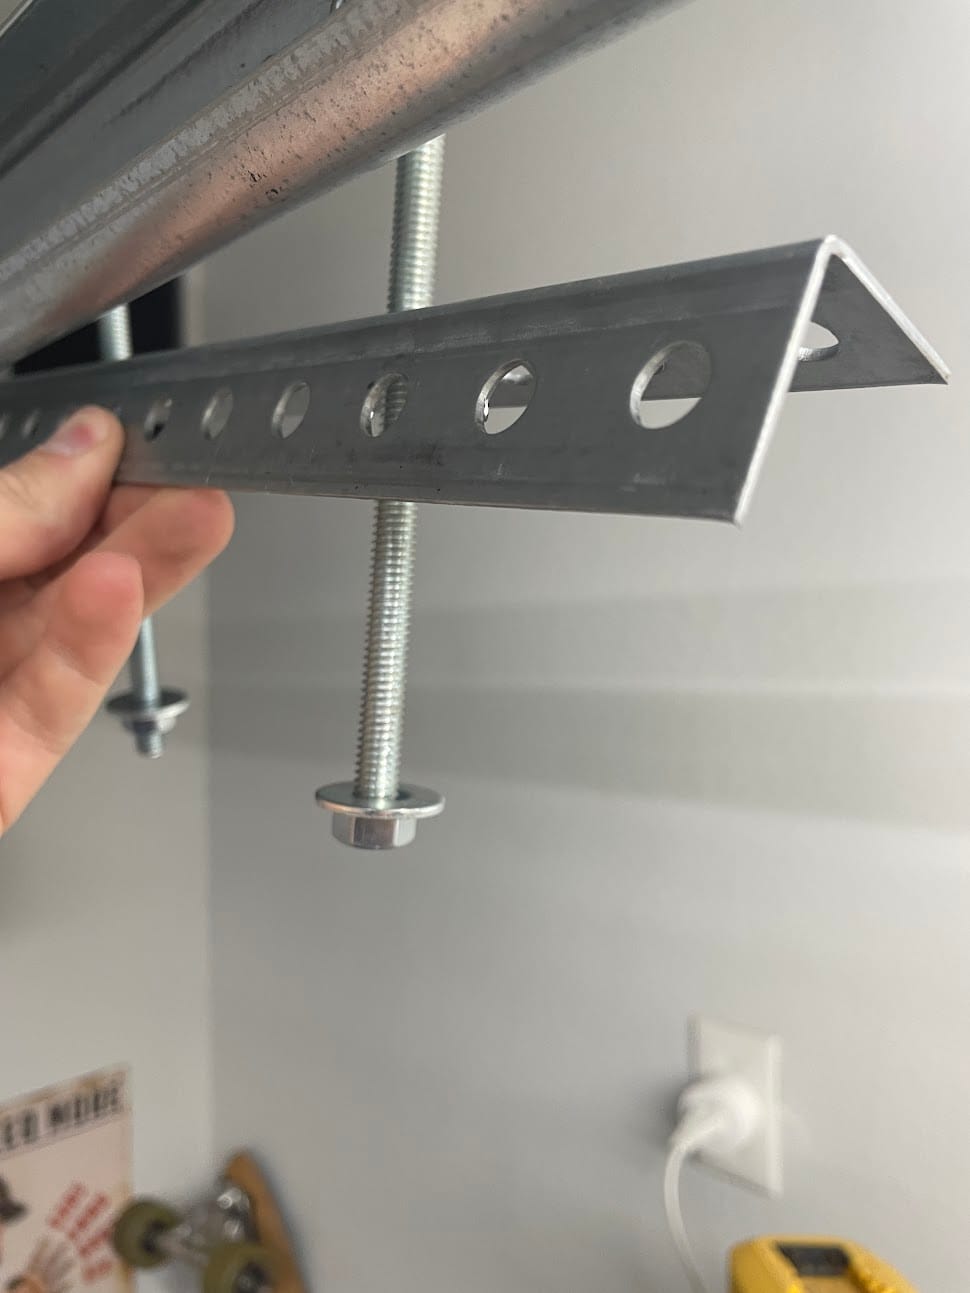
4. Tighten the Nuts so that they are tight and the bolts are rigid.
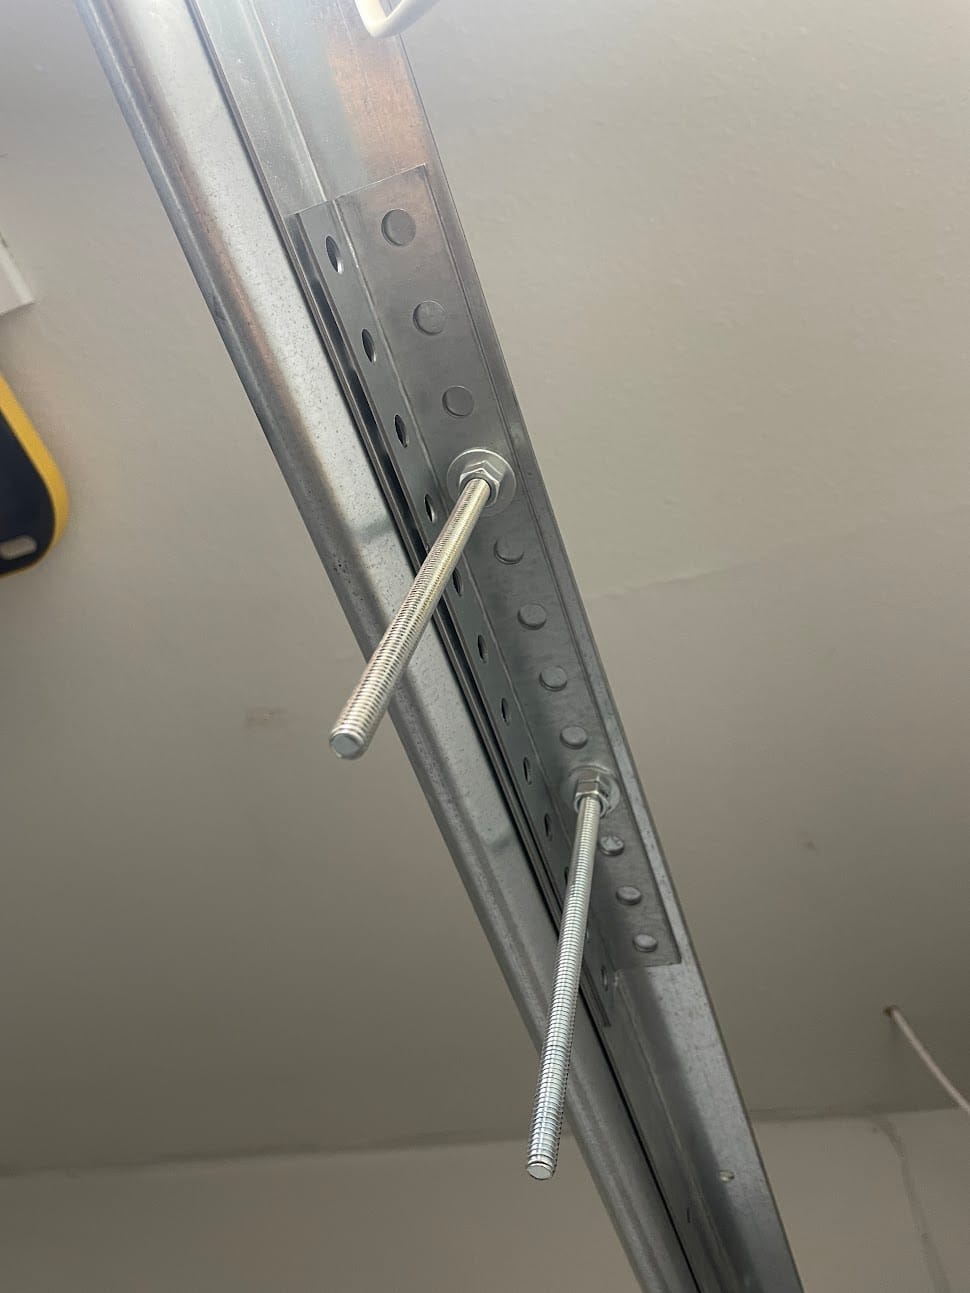
5. I apologize for not taking better photos but my hands were full and on a ladder. I will try to break the steps down but the below photo is what we are going for.
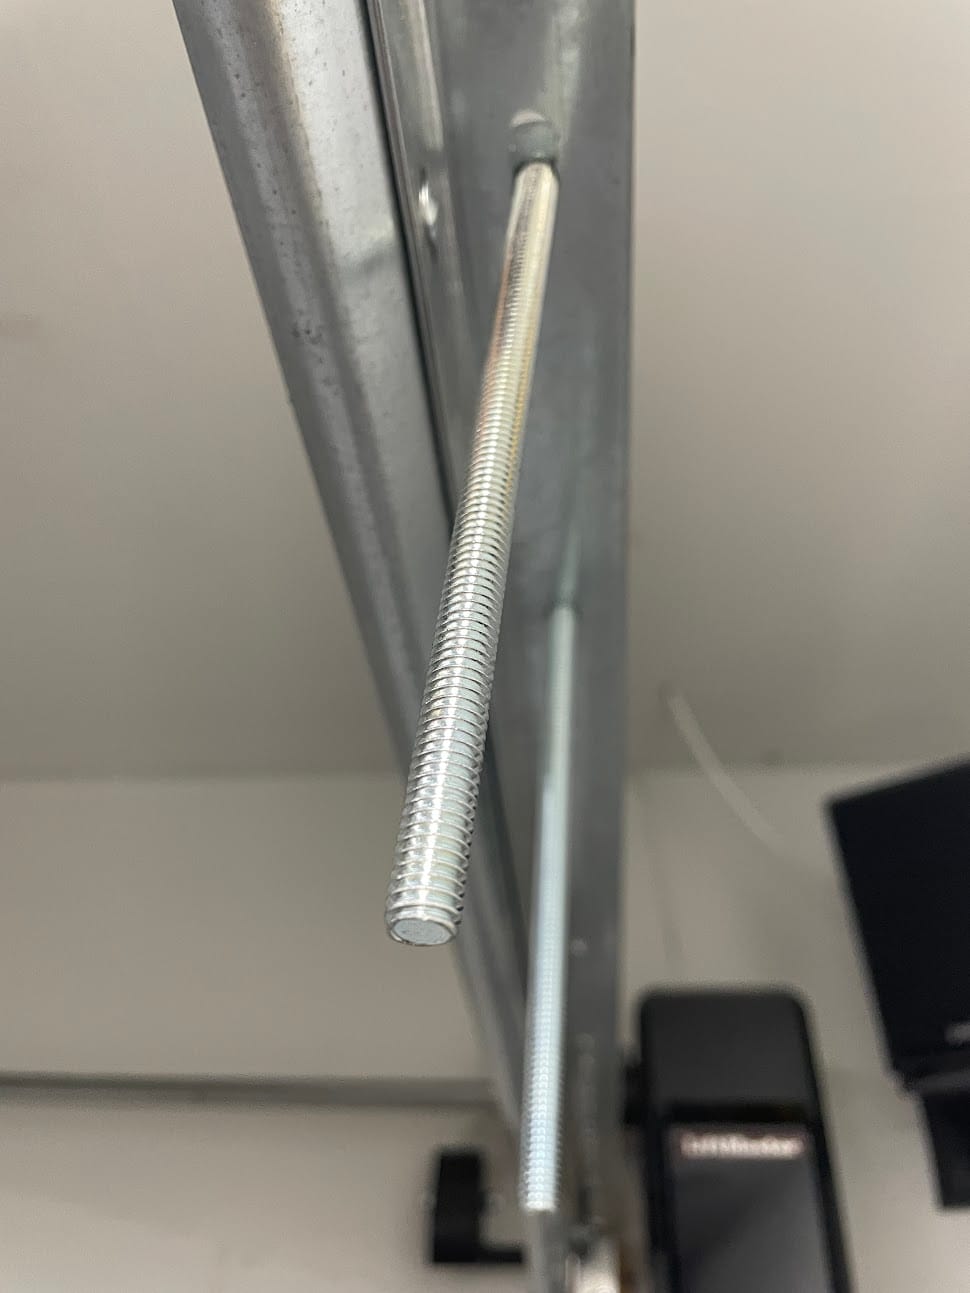
5a. Thread one nut onto each bolt, tighten halfway or so up the bolt.
5b. Add one washer to each bolt (Optionally: add a second piece of bracing, I thought this would help with rigidity, with no noticeable effect)
5c. Place the Pillow Block Bearing on the threads
5d. Follow the bearing with one washer and one nut on each of the threads. Keep loose until cross bar (EMT Conduit) is in place.

6. Repeat on opposite side of Garage door.
7. Now that the Pillow Block Bearings are in place, I suggest placing a ladder in the middle of the garage between the two bearings.
7a.Take one length of EMT and slide it through one bearing, then resting on the ladder.
7b. Next, take the next length of EMT Conduit and slide it through the other bearing and climb the ladder with it.
7c. Once you are on the ladder with both EMT Conduits, place them in the coupling -tightly, then tighten the set screws.
7d. Optional: I did not like the look of this coupler. I spent weeks trying to come up with other solutions. I tried putting a smaller conduit inside this one (very heavy, no benefit seen), a larger conduit slide over these two (less heavy, made the screen attachment kind of weird, not as rigid as I'd like. I ended up using a rifle scope mount from amazon that fit nice for $8 but the screws can and will break if you over-tighten. I don't know how useful this is, but I didn't trust the coupler.
- Attach the JackShaft Garage Door Opener