How to Install HomeAssistant on a PC

Hello,
This is the written companion to my youtube video on How to Install HomeAssistant on a PC. Check out the Video above.
As an Amazon Associate, I earn from qualifying purchases.
Required Items: Flash Drive
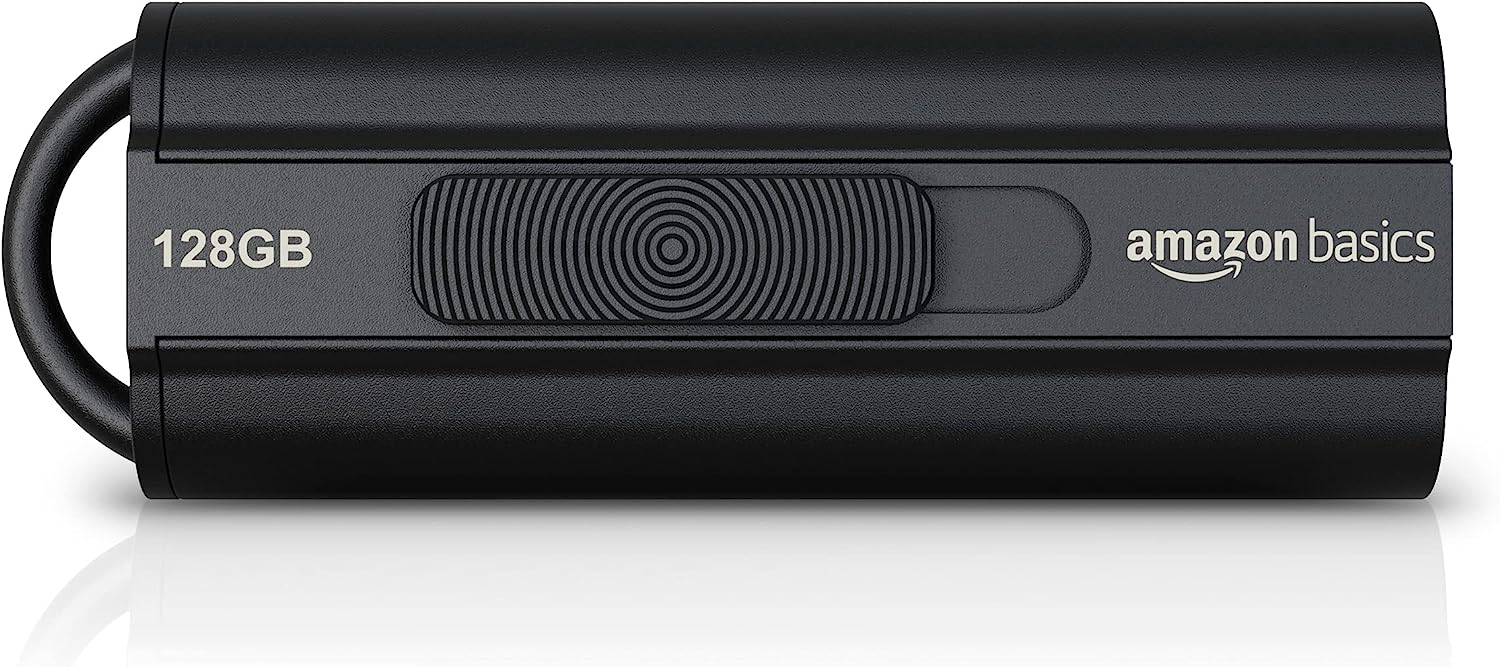
Amazon Basics Flash Drive 128GB
This flashdrive will be plenty large to install HAOS, but at $10 it's as cost effective as getting a smaller alternative
Before we begin, Why a PC or a Micro-PC?
Home Assistant is a relatively low-power operating system that does not require a lot of processing power to operate. If you have an old PC laying around, that would be a great choice for running Home Assistant as you can breathe new life into an otherwise unused computer and keep it out of a landfill.
Looking for something smaller, more power efficient, or generally not sure what to use? I would highly recommend buying a used micro-pc on eBay. I purchased this Dell Optiplex 3050 for $65 without a power cable, or about $80 once I included that.
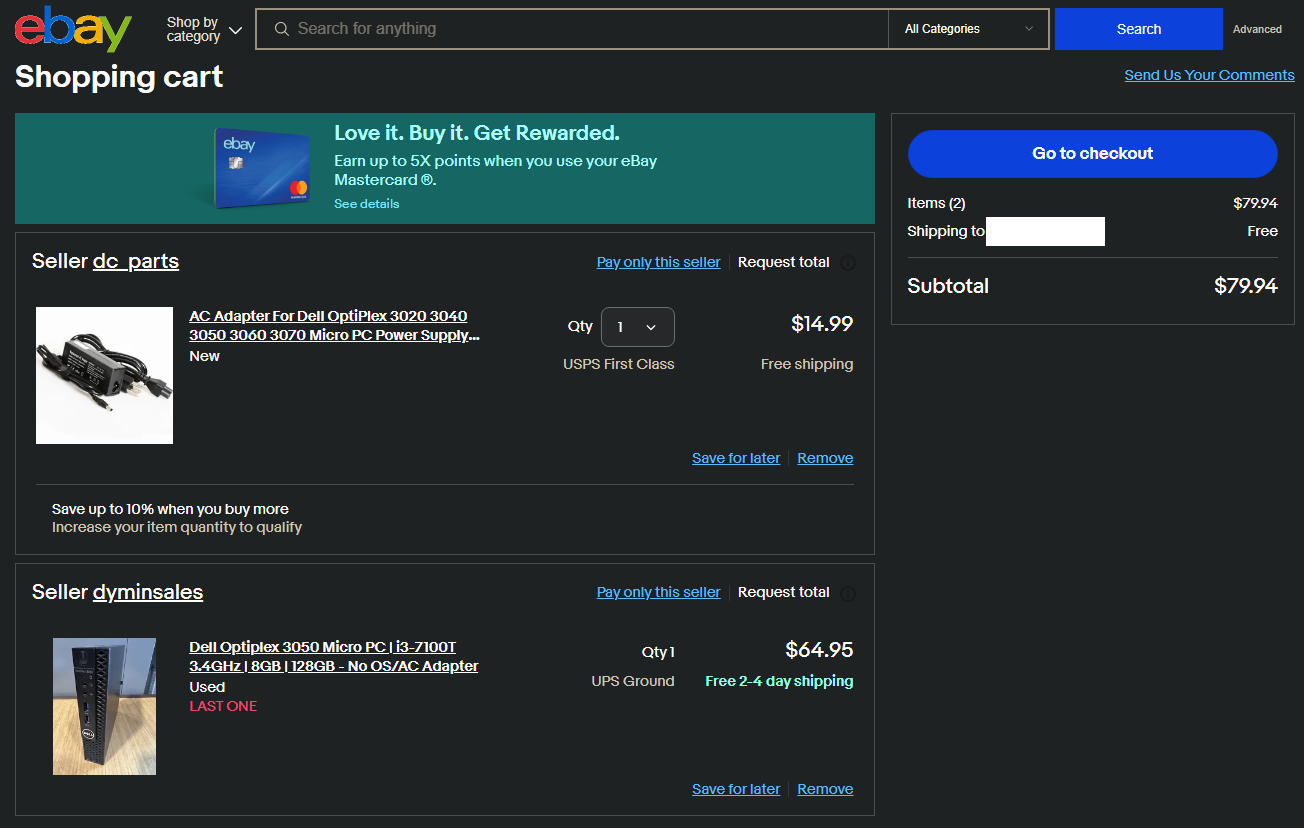
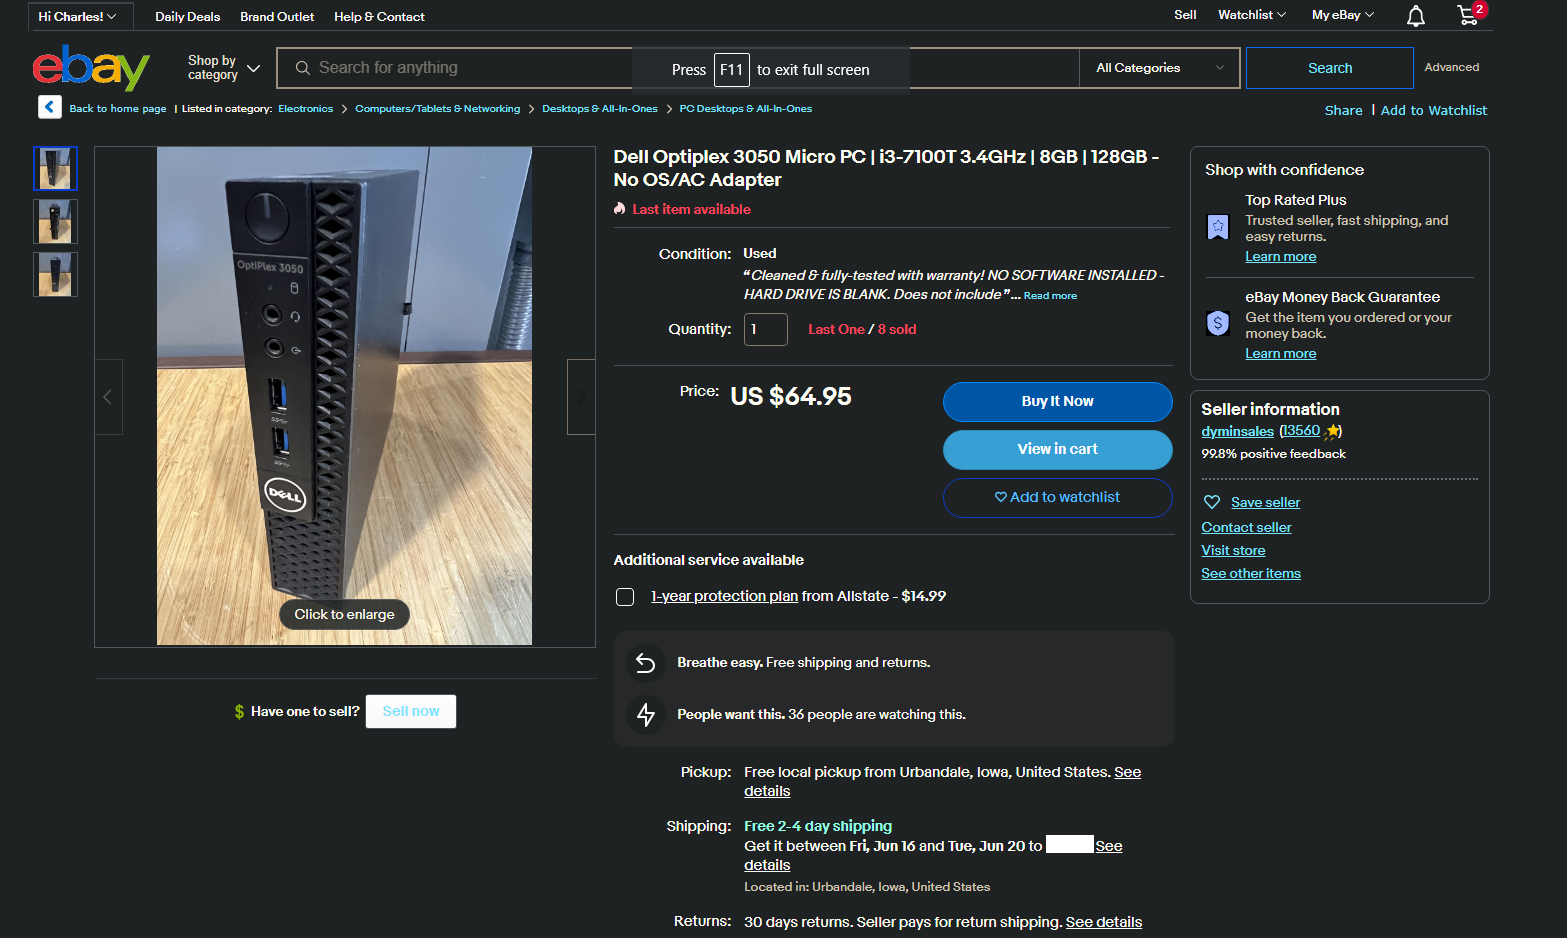
For about $80 shipped, we are getting an Intel i3 processor, 8GB of RAM, and a 128GB SSD. All wrapped up in a small form factor that sips power. Compared to a Raspberry Pi 4 with 8GB of RAM, we are already way ahead on price and performance.
1 - BIOS
First we will need to Boot into BIOS to change some settings. To boot into Bios, while the PC is turning on press the proper key. For my Dell, it was F2 , it differs by brand but the most common are F1, F2, F10, F12, Del, or Esc it should flash across the screen with the brand logo while turning on.
Once inside of the BIOS, navigate around using your arrow keys and make sure UEFI Boot is ENABLED. Additionally, ensure that Secure Boot is DISABLED.
At this time, I personally change my "Restore from AC Loss" settings to "Last Power State" which will turn your PC back on in the case of a Power Outage.
2 - Download
Click this link to download Balena Etcher . While that is downloading, go to https://ubuntu.com/ and download the latest Ubuntu Image. This link should start the download for you.
3 - Write
Use Balena Etcher to write the Ubuntu image onto your flash drive

4 - Boot
Eject your flash drive and plug it into the PC. Boot into Bios (F2 for my Dell), it differs by brand but the most common are F1, F2, F10, F12, Del, or Esc.
When the Ubuntu Bootload loads, select "Try Ubuntu". Follow along until you are on the Ubuntu Desktop.
5 - Download... Again
From within the Ubuntu Operating System, Open your internet browser (Firefox) and navigate to the Home Assistant website's installation instructions for x86 x64 architecture.
Execute the following code in Terminal to download dependencies for Balena Etcher:
sudo add-apt-repository universe
sudoapt update
sudoaptinstall libfuse2
Next, from within the Ubuntu Operating System, we will download Balena Etcher again, but make sure you choose the ETCHER FOR LINUX X64 (64-BIT) (APPIMAGE) version. When this is done download, click "Open in Folder", right click the download, click "Properties", then click on the "Permissions" Tab. Inside the "Permissions" Tab, click on "Allow executing file as program". Double click to run.
Next, we will download the HomeAssistant Operating System Image inside of Ubuntu.
6 - Write the Image to your PC
Run Balena Etcher, select the HomeAssistant Image we downloaded in the last step, and choose your target drive of the PC. You will have to confirm that you want to erase and flash your system's drive.
7 - Confirm
Click "Yes, I'm sure" and let balena write to your drive. Shutdown your PC, remove your flash drive and turn it back on.
8 - First Boot
At this time your PC should be booting into HomeAssistant OS. You will likely see some text scrolling across your screen as it processes. It may take some time to boot. Wait patiently until you see the HomeAssistant ASCII Logo.
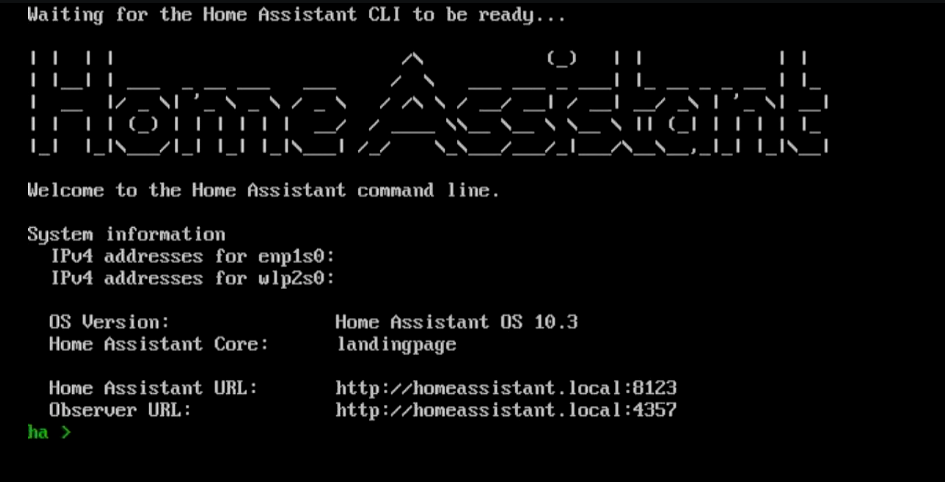
You're Done! Ensure your machine has internet and login on your computers internet browser to http://homeassistant.local:8123
Need to Setup Wifi?
- Type "network info" no quotes to see if your network hardware information
- Ensure you have a wireless network interface available, it will start with "w", in the above screenshot mine is "wlp2s0"
- Type "network update WIRELESSINTERFACENAMEHERE --ipv4-method auto --ipv6-method auto --wifi-auth wpa-psk --wifi-mode infrastructure --wifi-ssid WIFI-NAME --wifi-psk WIFI-PASSWORD" without those quotes. If your wifi name or password has a space use quotes.