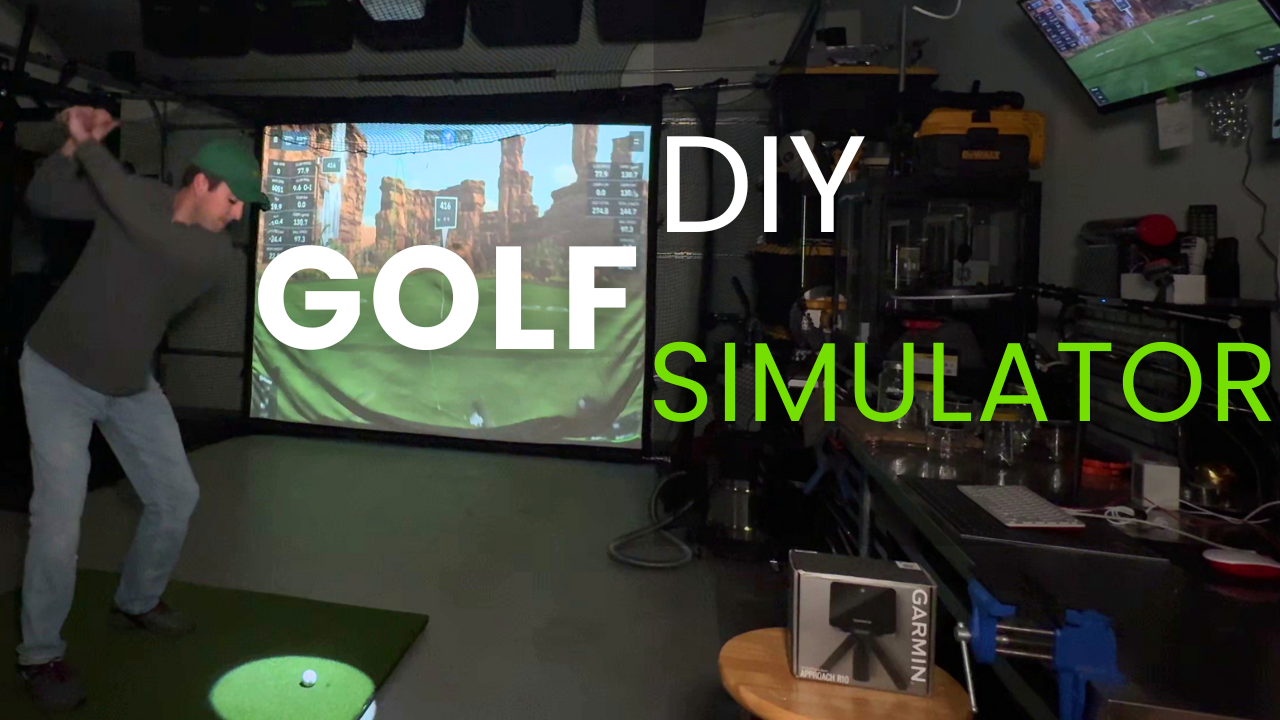
DIY Golf Simulator (v1 - old)

Introduction
As a somewhat new golfer, I have been trying to get more and more time behind a ball, however that can be hard to schedule, plan, and pay for. With temperature fluctuations of more than 50 degrees in a single day, unpredictable work and school schedules, and increasingly difficulty to reserve tee times, I was getting most of my practice in my back yard or at the range.
I've played around with the idea of full-swing practice in my back yard with a net but it didn't solve the weather issue and it didn't ~ feel ~ like golf.
This changed when one day I was walking my dog in my neighborhood and a neighbor had an older Epson Ultra-Short Throw projector by the curb for trash pickup. I asked the neighbor about it, hoping to hear about some new high-end theater upgrade he might've done (an interest of mine), only to learn that this had been in their backyard for years and they just upgraded it. He said I could take it for -FREE- and that it worked fine. This free projector is what started the project.
Overall, I am pleased with this project. I am sharing this as an exercise to document more of my little projects. This in particular stands out to me as I have seen so few "temporary" golf simulators. I did not have a free wall / corner to hit into with a rigid and permanent setup.
I feel that there is a lot of opportunity to customize this to fit your space and you can have a complete golf simulator for the price that some people are spending on just one piece of equipment. I am very aware that this simulator setup does not compare to the simulators you might see on Instagram or at a golf outfitter, but it was fun, cheap, and I am very happy with the performance.
Goals
For this project, I had a few goals:
- Retain full use of the Garage
- Speedy Setup & Takedown
- DIY as much as possible, I wanted this to be a challenge
- Start with the cheapest option first
- Get a Proof of Concept to work before buying next pieces. Upgrades come later if I feel they will be a notable improvement
Before we get into how to make this, I want to share some insights:
- I have a large garage, please ensure you can swing your driver safely indoors before buying anything. You need to have 7' behind the ball and at least 7' in front of the ball. The more distance in front, the better the reading will be (in theory)
- I have no background in product design. I used readily available parts and generally brute forced my way through this. If one thing didn't work I returned it and tried something else. With this in mind, if you think you've got a better solution to any aspect of this build, please do let me know! I want to know how to make it better.
Below are the different segments of How To Build:
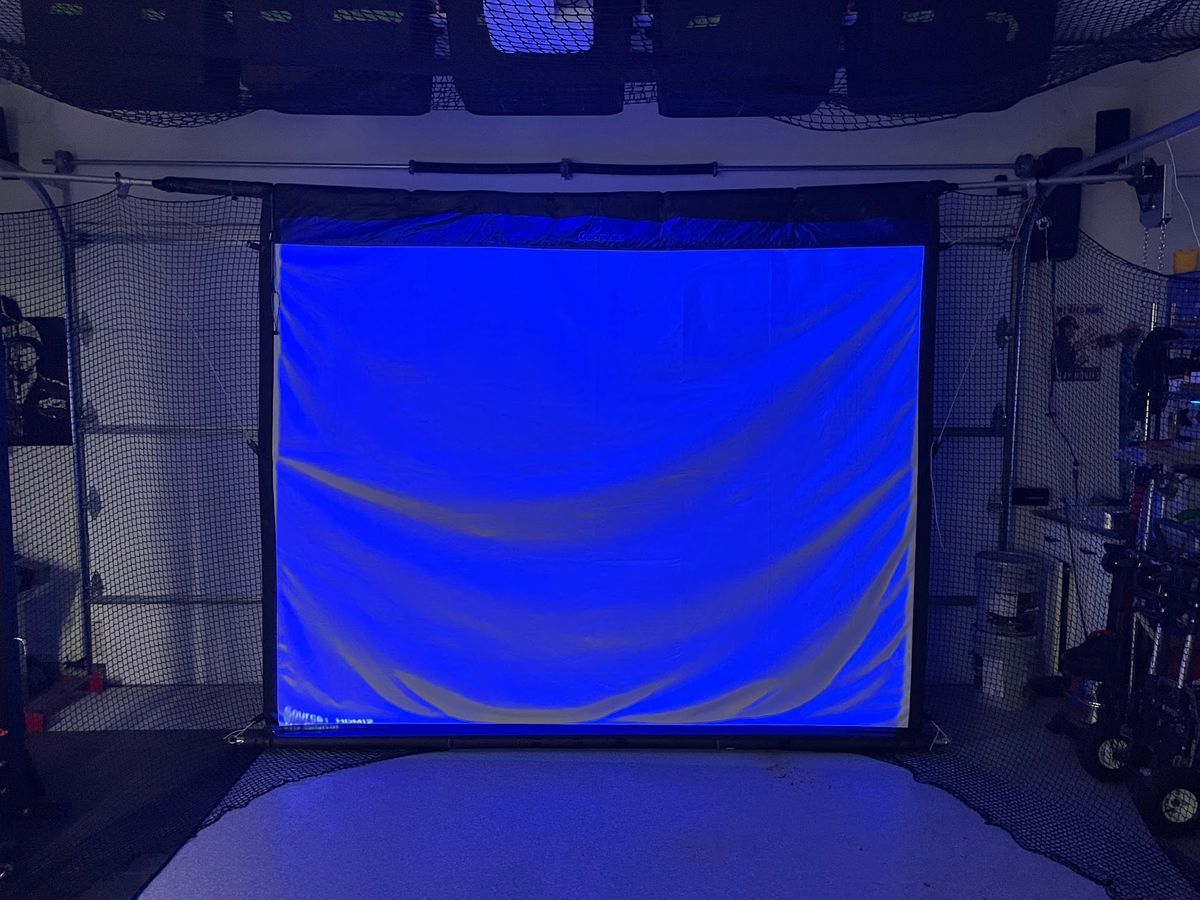
Materials Used
Impact Screen Parts:
- Screen $125 : Amazon
- Nets (x3) $100: Amazon
- Pull-Chain JackShaft Garage Door Opener $120 : Amazon
- Pillow Block Bearings $22 : Amazon
- 1" x 10Ft EMT Conduit x3 $45 : Home Depot
- 1" EMT Coupling with Set Screw $1 at Home Depot
- Pool Noodles to reduce bounce $25 : Amazon
- I don't really recommend this as they eventually broke: Pipe Clamps $10 : Amazon
- Optional : Galvanized Steel Braces to reinforce or create a new location. $25 Amazon
- Optional: Extra Bungies to connect nets $7 (nets come with some) : Amazon
- Optional: Shock Cord $10 : Amazon
- Optional: Tarp Clips $8 : Amazon
- Strong Tape, I used Gorilla Tape but whatever you have laying around is probably enough $10 : Amazon
- Metal Tube Cutter $10: Amazon
- Hardware : I used 4 of these 6" Hex Bolts with 3 nuts(12) and 4 washers(16) for each bolt. the Length of the bolt will determine the distance you can adjust the overall height of the screen.
- Total: ~$450
Golf Parts:
- Hitting Mat $150: Amazon ( I tried to start with a smaller mat, but it moved enough to make me feel that this was worth upgrading early)
- Interlocking Foam Exercise Mats to make Hitting Mat more comfortable on Elbows $20 : Amazon
- Garmin R10 $425: Check Ebay and Reddit for this. Second Swing has one for $460
- Optional: Callaway Pro Caddie Ball Shagger / Dispenser $40 : Amazon
- Total: ~$650
Projection / Simulator Parts:
These will vary a lot based on your hardware and setup needs
- Projector : Free from a neighbors trash pick up pile (I asked first) Cheap <$100 Projectors will be fine for this.
- Projector Mount $35: Amazon
- Raspberry Pi 400 : Already Had (I had bought this originally to be a garage computer for manuals but this is a nice extra use, $70 new)
- I used an HDMI extender over Ethernet to connect the Rpi400 to the projector $25 Amazon
- I used a Pre-existing high-end computer to run my simulator software of choice: GSPro
- GSPro License : $250/year
- Total: Really Depends on your setup but all in I'm close to $1300